Creating a campaign
Create, configure, and send an email campaign in Sendra.
A campaign is a single email sent to a group of contacts. Here's how to create one from start to finish.
Starting a new campaign
Go to Campaigns → New Campaign. You'll land in the campaign editor with two areas:
- Settings sidebar — subject line, sender details, audience, and scheduling
- Email editor — where you write and design the email content
Campaign settings
Subject line
The subject line appears in your recipients' inboxes. Keep it concise and relevant.
Preview text (optional) — the snippet that appears after the subject line in most email clients. If you don't set it, email clients pull from the first line of your email body.
Sender identity
- From name — who the email appears to be from (e.g., "Alice from Acme")
- From email — the sending address (must be from a verified domain)
- Reply-to — where replies go (defaults to the from address)
Tracking
Toggle open and click tracking per campaign:
- Open tracking — inserts a transparent pixel to detect when the email is opened
- Click tracking — rewrites links to pass through Sendra's tracking server
Both are enabled by default. Disable them if you prefer not to track a specific campaign.
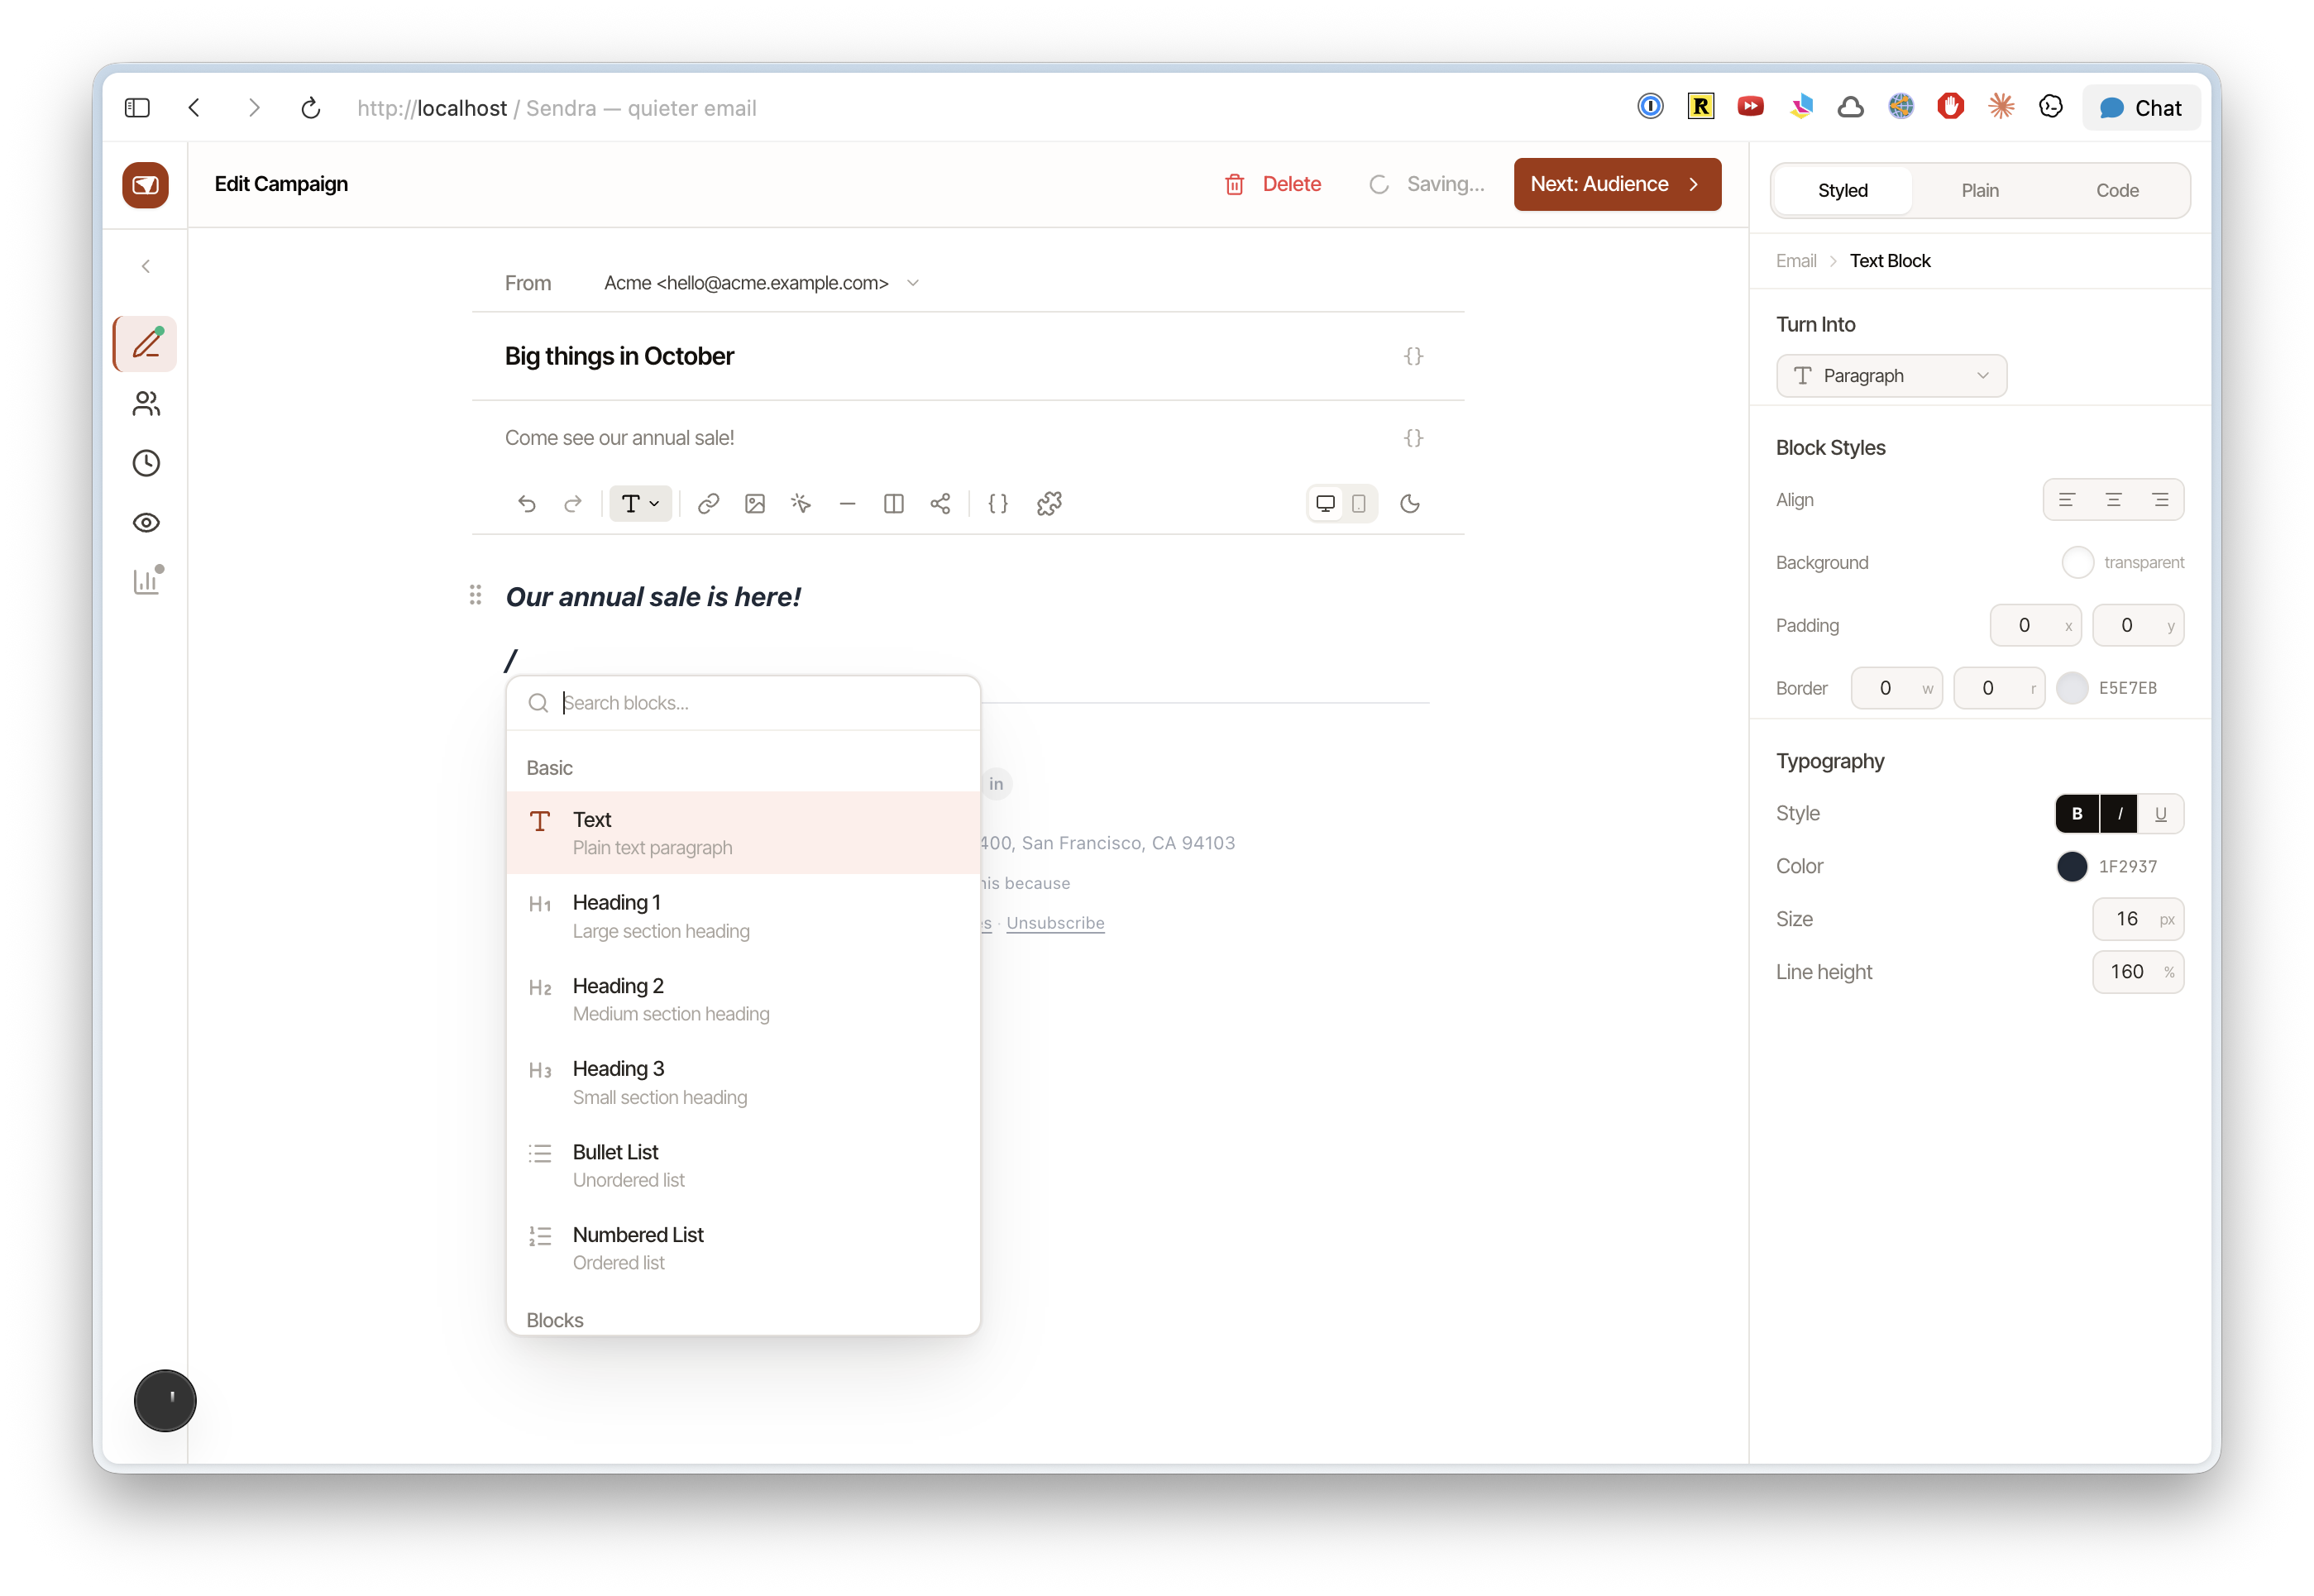
Writing the email
Use the visual editor to compose your email. Everything you see is what recipients see.
Saving drafts
Campaigns auto-save as drafts. You can leave and come back to a draft at any time from the Campaigns list.
Sending
When you're ready:
- Verify your settings (subject, sender, audience)
- Send a test email to yourself
- Click Send Now or schedule for later
Once sent, the campaign moves from "Draft" to "Sent" and you can view its report.