Quickstart
Send your first campaign in under 5 minutes.
This guide walks you through the essentials — from creating your account to sending your first campaign. By the end, you'll have a working Sendra setup sending real emails through Amazon SES.
1. Create your account
Sign up at sendra.so and you'll land in the onboarding flow automatically. Sendra is currently invite-only — join the waitlist or use an invite code from someone already on the platform.
2. Connect Amazon SES
Sendra sends email through your own Amazon SES account, so Amazon bills you directly for delivery — about $1 per 10,000 emails, with no markup. During onboarding, create an IAM user in AWS with ses:SendEmail, ses:SendRawEmail, and ses:GetSendStatistics permissions, then paste the access key and secret into Sendra.
After connecting, Sendra runs a live test to confirm everything works. Full walkthrough: Connecting Amazon SES.
New AWS SES accounts start in sandbox mode, which limits you to verified email addresses only. Request production access to send to any address.
3. Verify your domain
Add the DNS records Sendra provides to your domain's DNS settings. This sets up DKIM authentication so your emails are trusted by inbox providers.
Sendra checks verification status automatically — most domains verify within a few minutes.
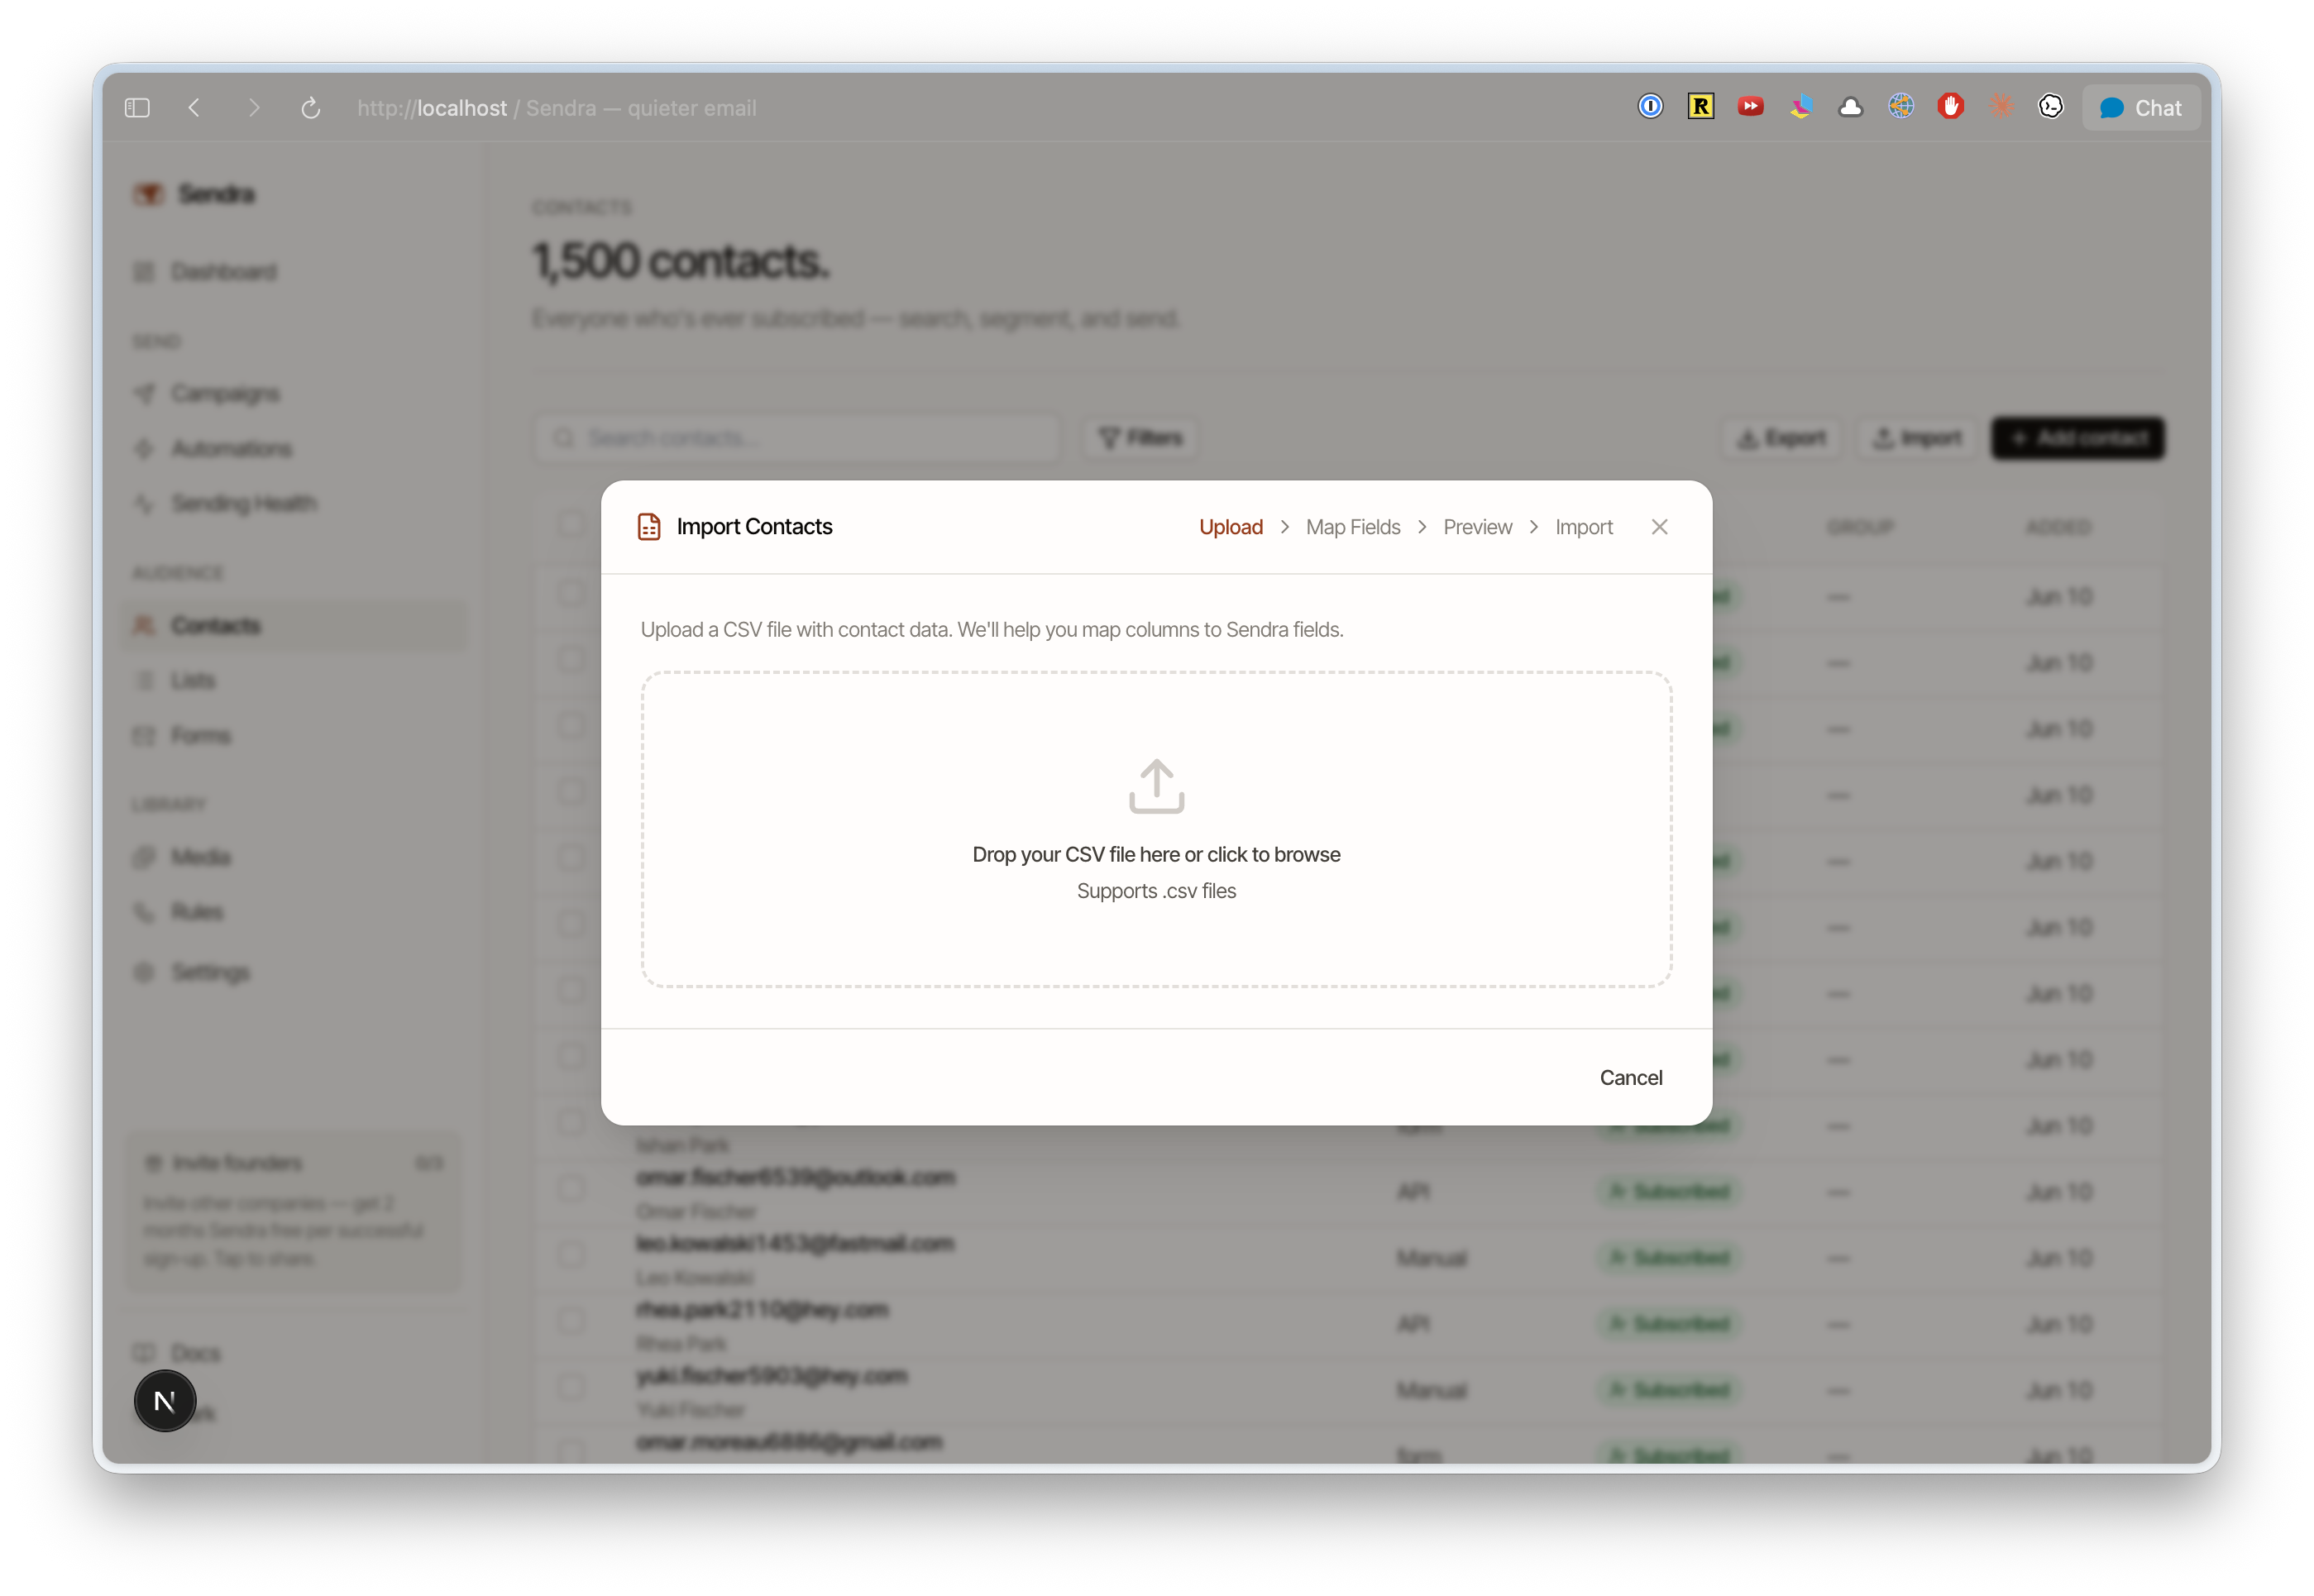
4. Import your contacts
Go to Contacts and click Import. Upload a CSV file with at least an email column. Sendra maps columns automatically and lets you assign contacts to a list during import.
You can also add contacts manually or through the API.
5. Create and send a campaign
- Go to Campaigns → New Campaign
- Set your subject line, sender name, and preview text
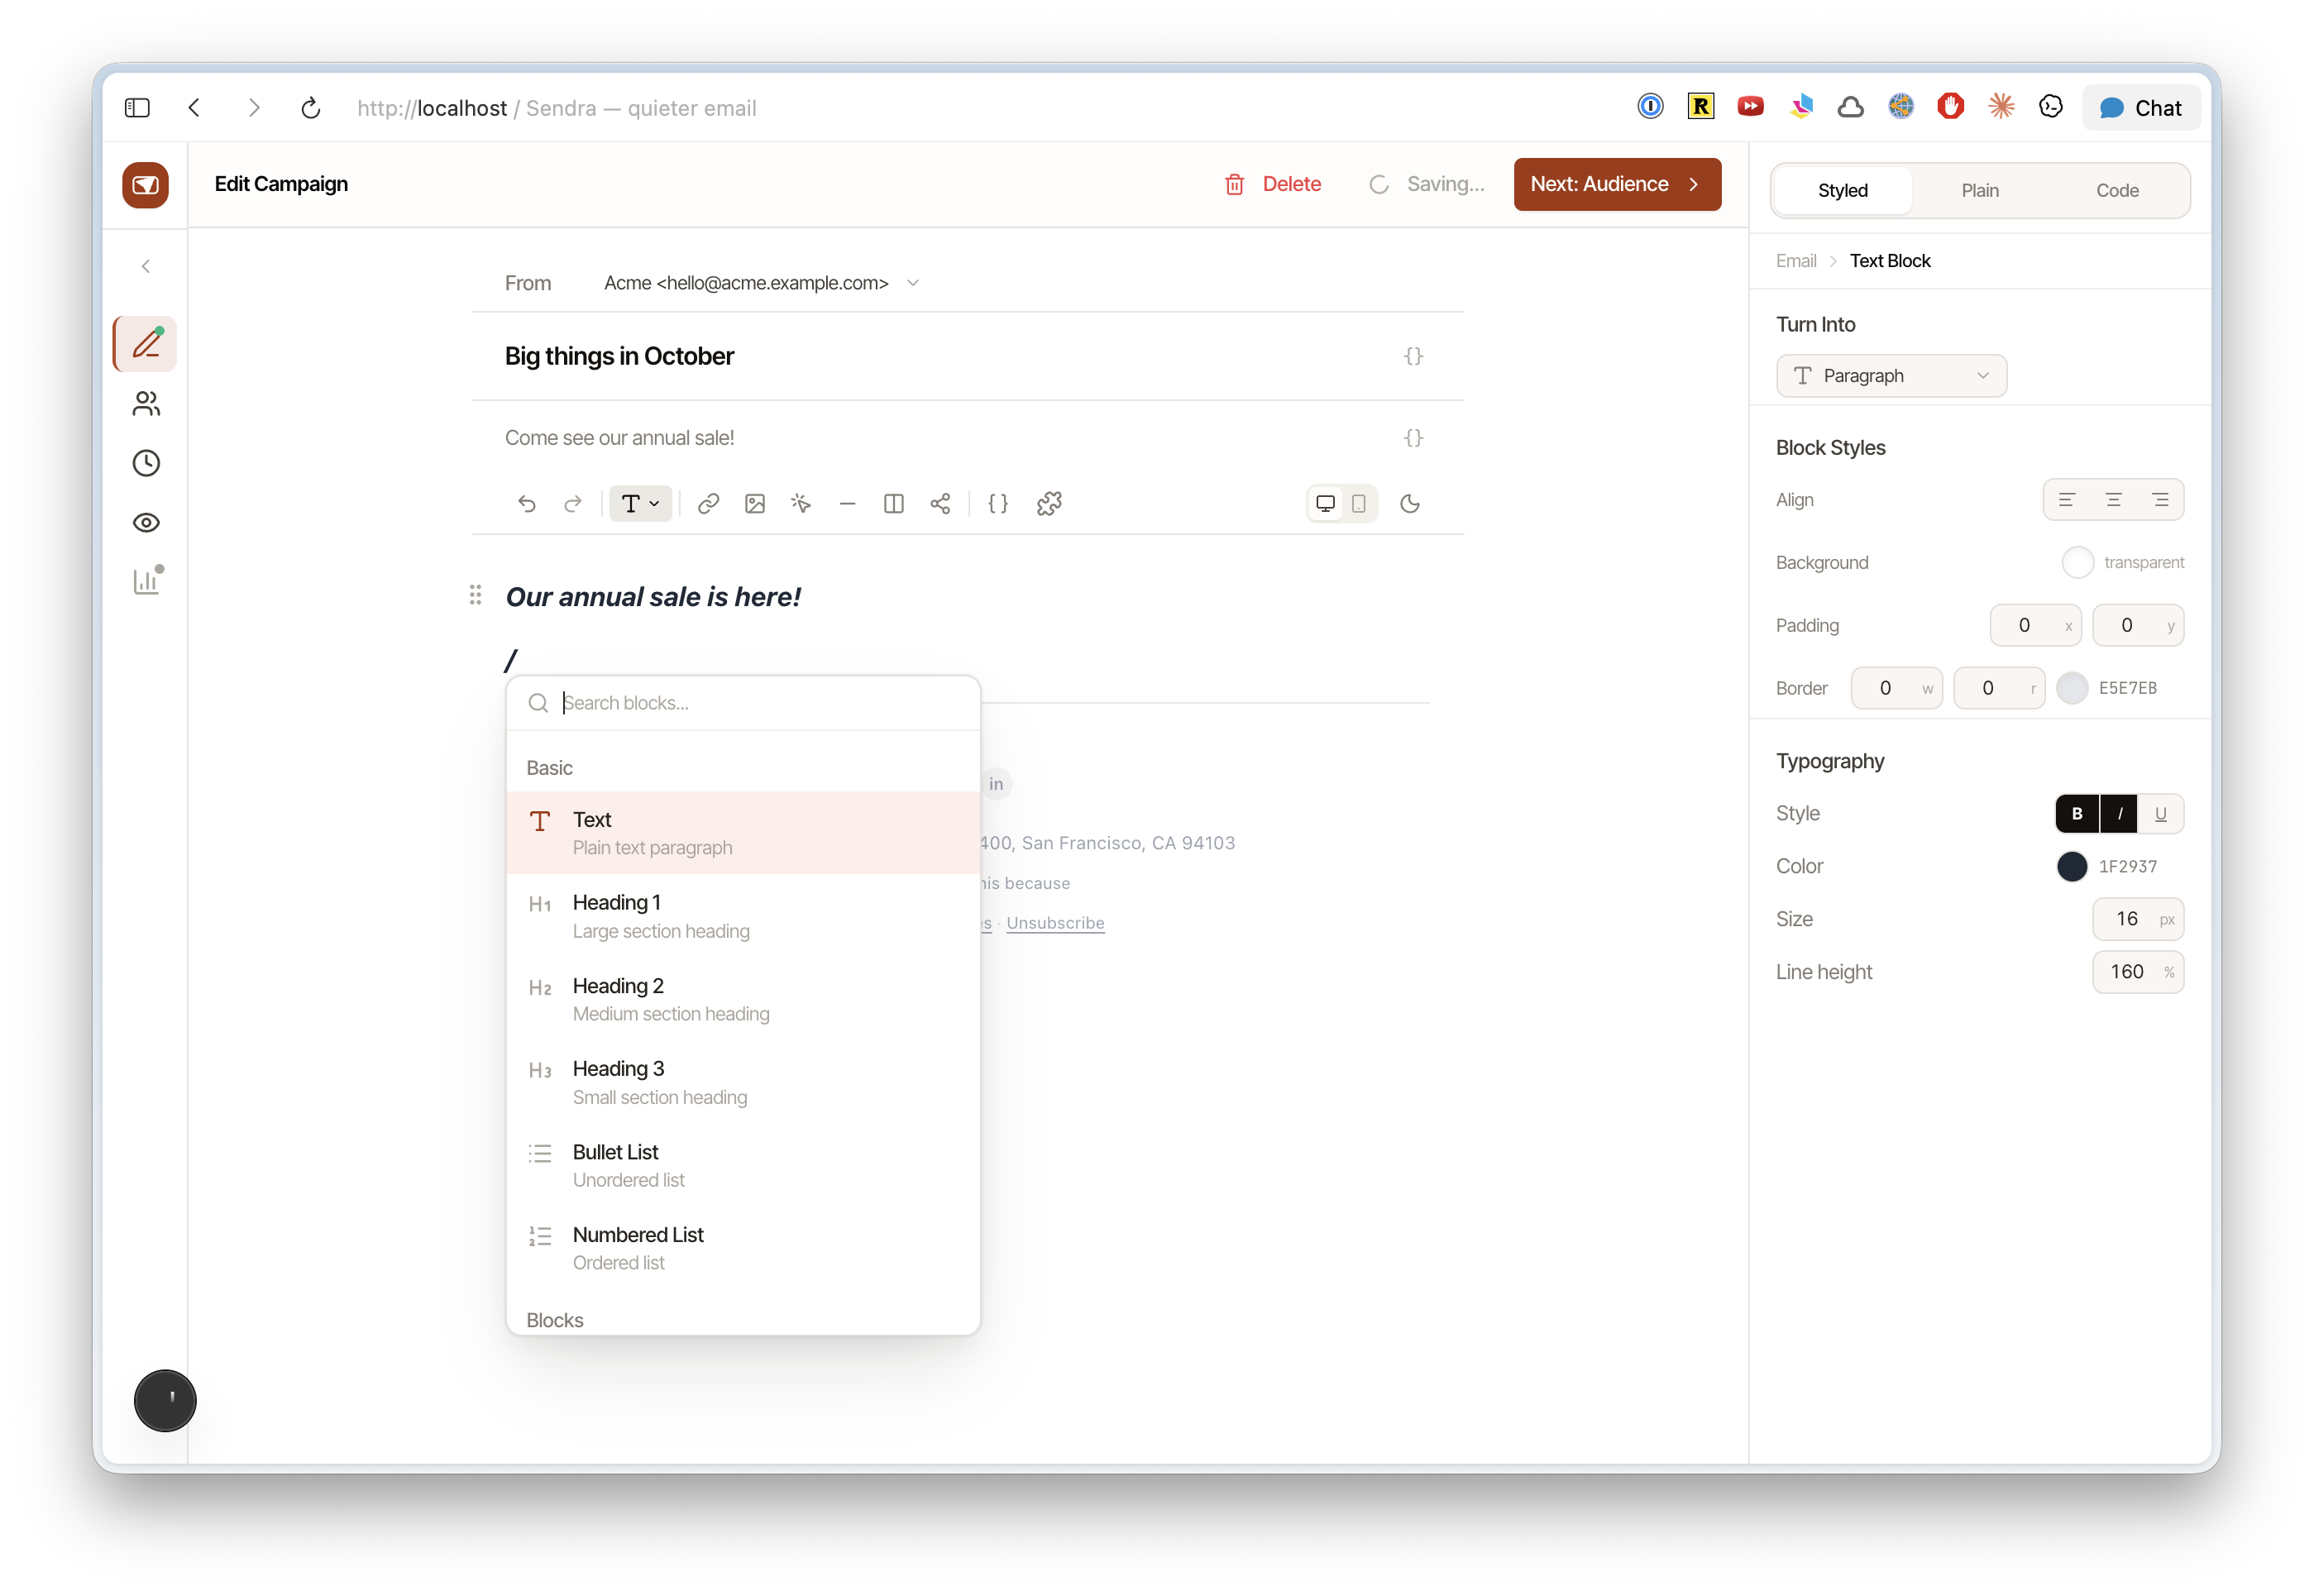
- Write your email in the visual editor — use
/to insert headings, buttons, dividers, images, and more
- Select your audience (all contacts or a specific list)
- Send a test email to yourself to preview
- Click Send (or schedule for later)
That's it. Your campaign is sent through SES, and you can track opens and clicks in the campaign report.