Domain verification
Verify your sending domain so recipients and inbox providers trust your emails.
Before you can send email from your domain (e.g., hey@yourcompany.com), you need to verify it with AWS SES through Sendra. This proves you own the domain and enables DKIM signing.
Adding a domain
- Go to Settings → Domains
- Enter your domain (e.g.,
yourcompany.comormail.yourcompany.com) - Sendra generates the required DNS records
Adding DNS records
Sendra provides three CNAME records for DKIM authentication. Add them to your domain's DNS settings:
| Type | Name | Value |
|---|---|---|
| CNAME | selector1._domainkey.yourcompany.com | (provided by Sendra) |
| CNAME | selector2._domainkey.yourcompany.com | (provided by Sendra) |
| CNAME | selector3._domainkey.yourcompany.com | (provided by Sendra) |
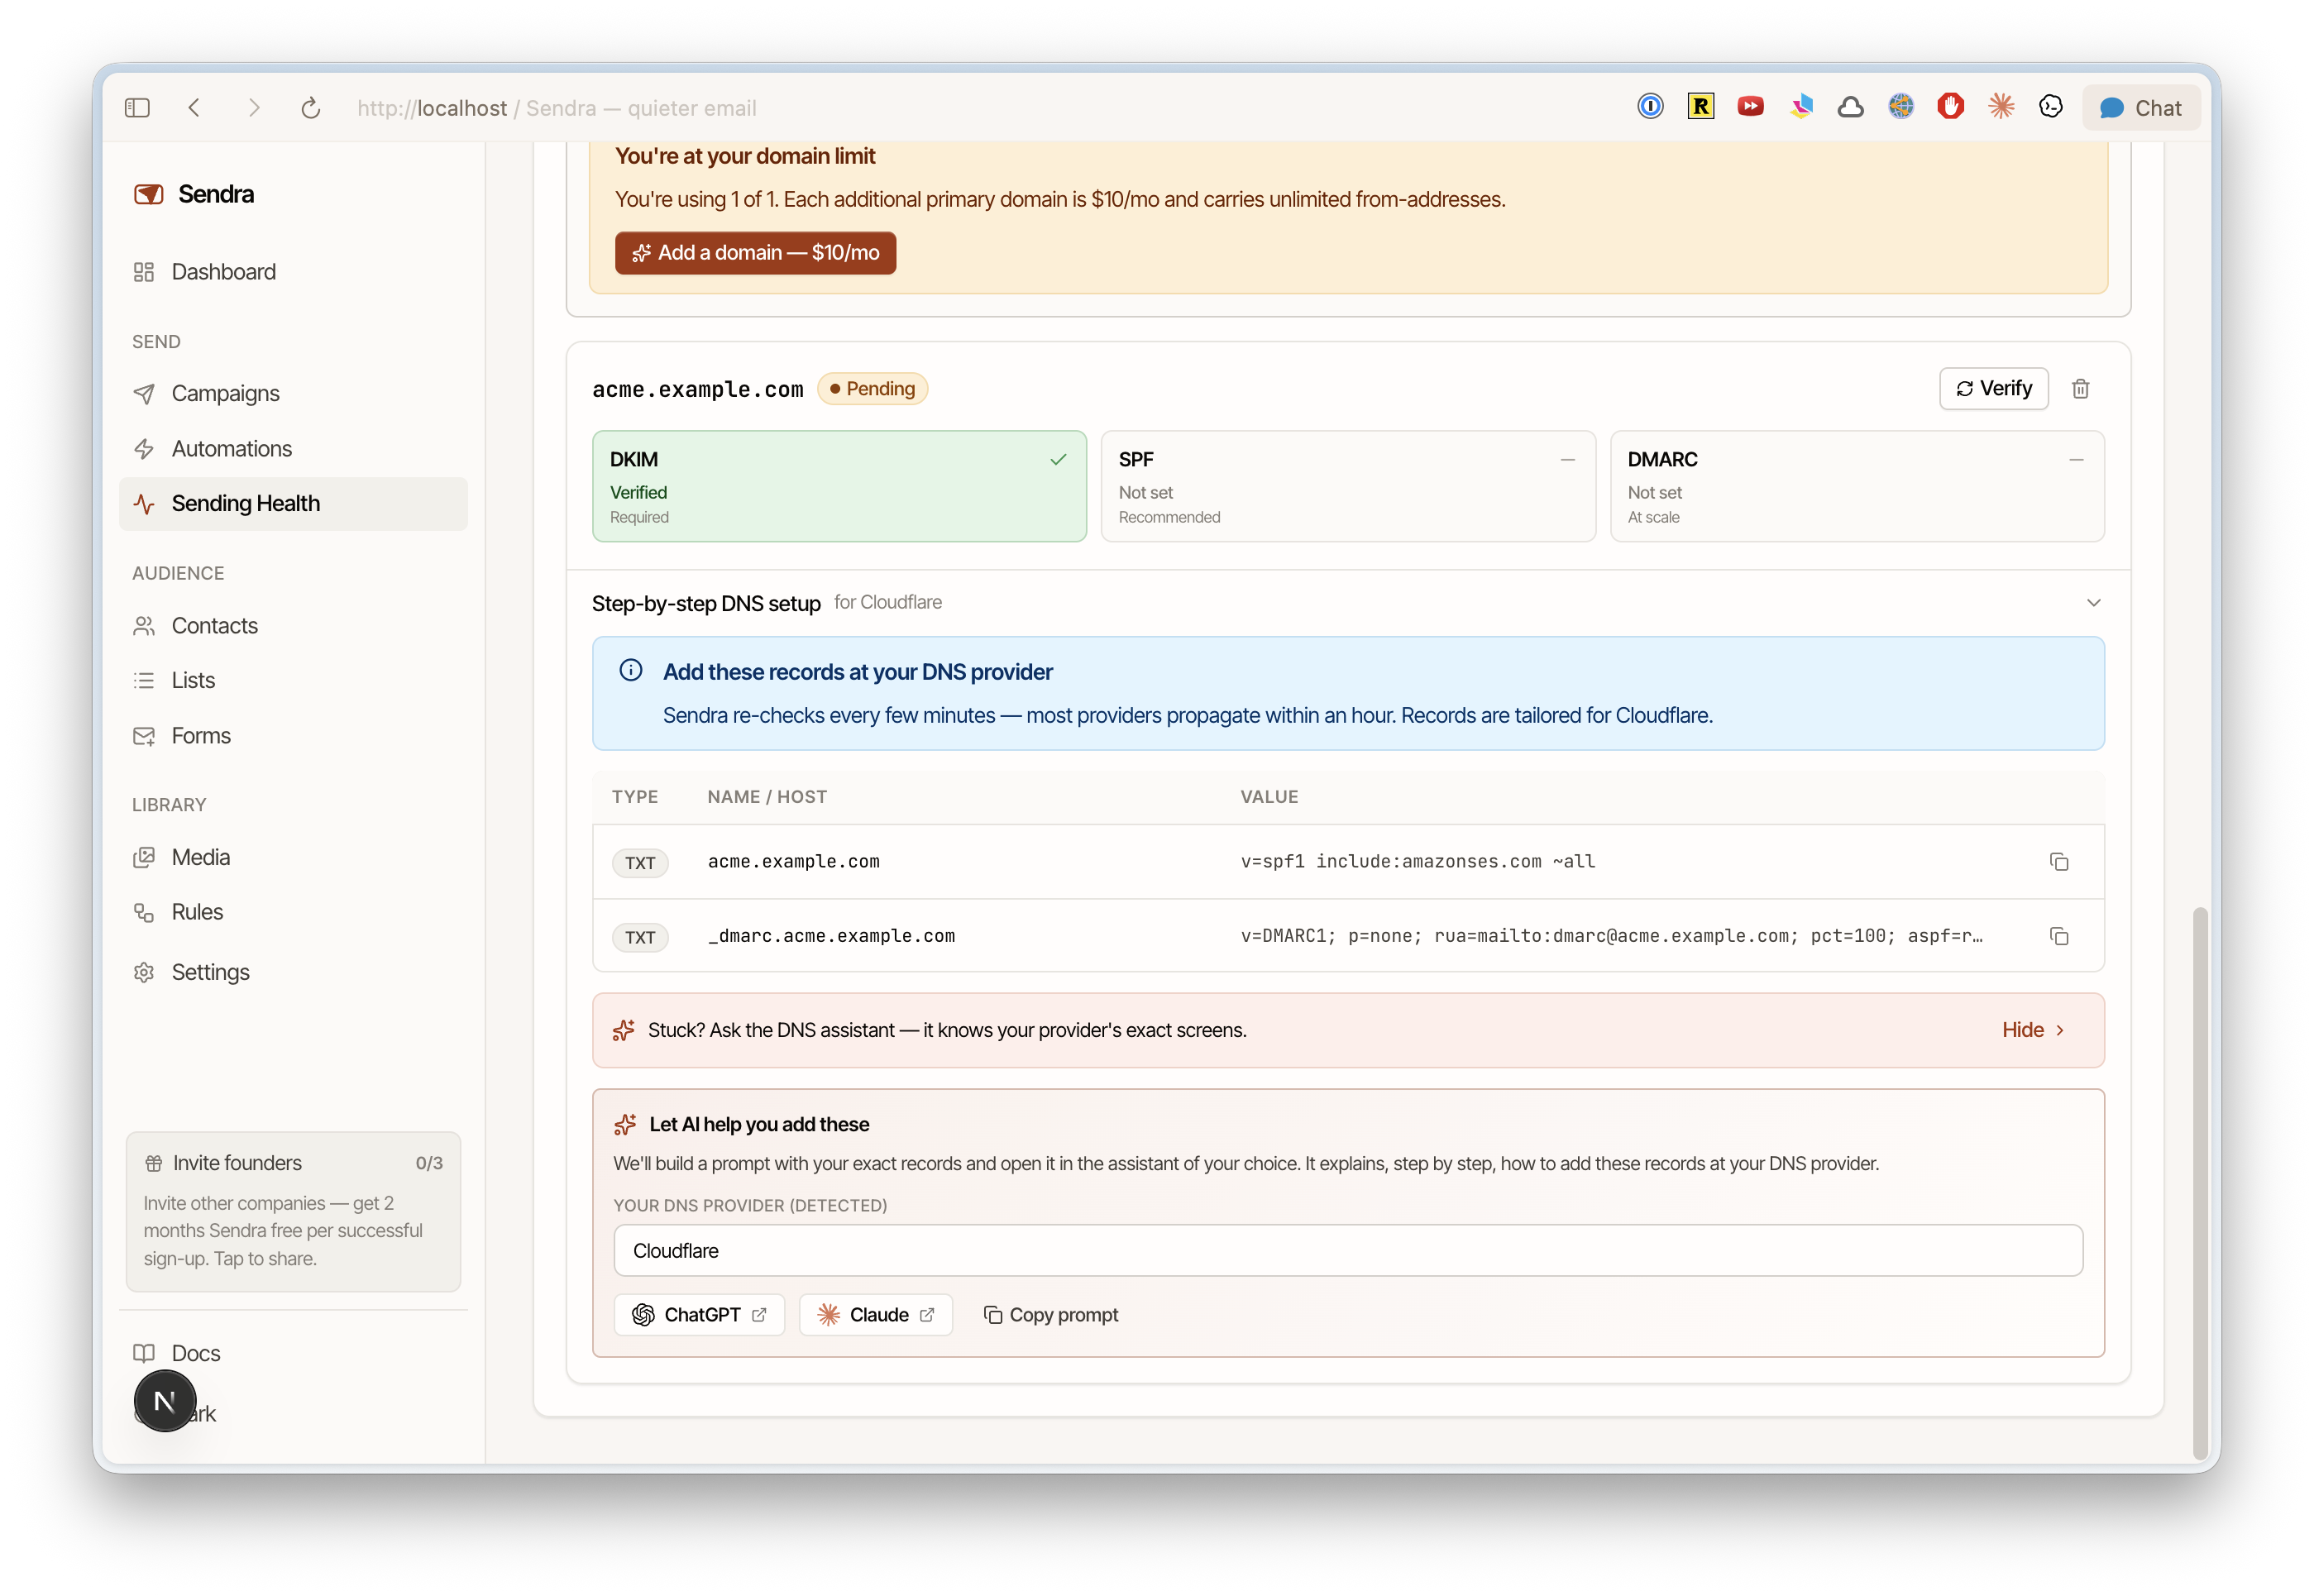
Where you add these depends on your DNS provider — Cloudflare, Namecheap, Route 53, GoDaddy, etc. all have different UIs, but the process is the same: create a CNAME record with the name and value Sendra shows you.
Verification
After adding the records, click Verify in Sendra. DNS propagation usually takes a few minutes but can take up to 48 hours in rare cases.
Sendra shows the verification status for each domain:
- Pending — DNS records not yet detected
- Verified — domain is ready to send from
Troubleshooting
Records not verifying?
- Double-check for typos in the CNAME name and value
- Some DNS providers automatically append your domain — if asked for
selector1._domainkey.yourcompany.com, you may only need to enterselector1._domainkey - Wait at least 15 minutes before retrying
- Use a tool like MX Toolbox to verify the records are visible
Using a subdomain vs root domain?
We recommend sending from a subdomain like mail.yourcompany.com rather than your root domain. See Subdomains vs root domains for details.